Microcontroller projects
The Neo Lamp
last updated: 2021-07-02
An I²C Light sensor from Adafruit (TSL2561) helps to adjust the brightness of the LED's.
Introduction
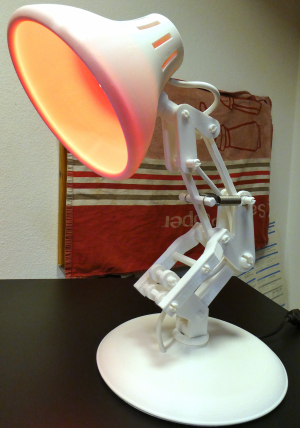
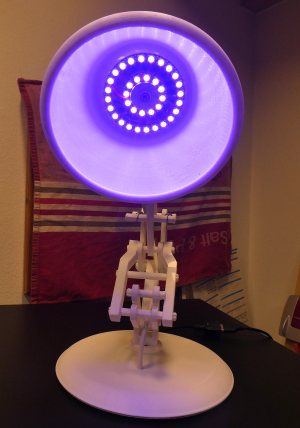
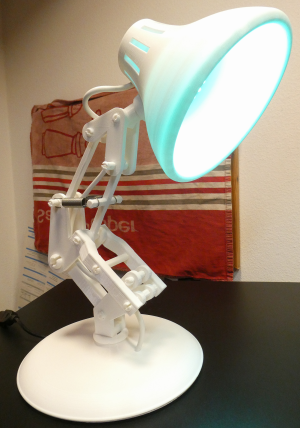
I found cool .stl files on thingiverse by Daniel Bull to print the well known pixar lamp luxo jr. I had still two spare NeoPixel rings from afafruit, waiting to be integrated in a project. And I needed a gift for XMas :). So here is the neo lamp.
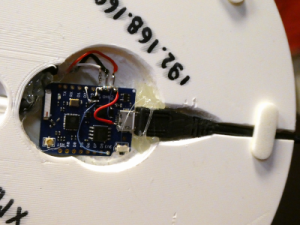
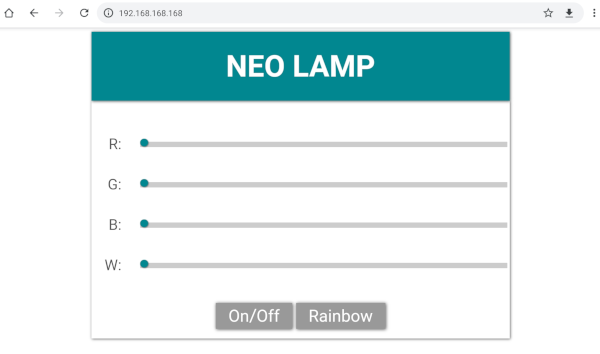
The web magic is done with websockets and an ESP8266. A big help was the beginners guide to ESP8266 from Pieter P.. The ESP8266 creates an access point and after connecting to this access point you can reach the lamp with the address 192.168.168.168 in your browser.
The hardware
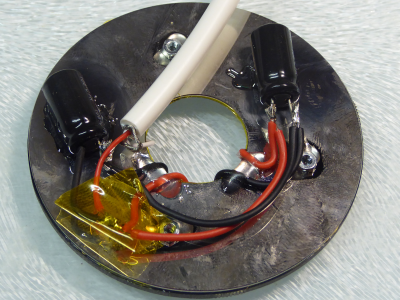
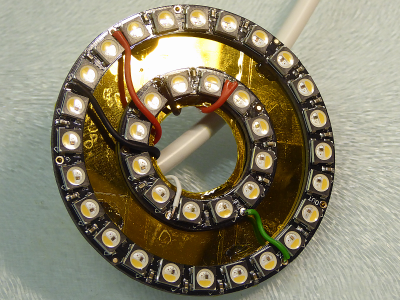
The NeoPixel rings from adafruit (12 and 24 pixels) use 5 V RGBW LED's. They are connected in direct to the 5 V of USB and will draw up to 1.6 A! Use a power supply of min. 2.5 A and two big electrolyte capacitors (min. 1000 µF) in parallel.
The rings will get hot and so an appropriate distance to the PLA is needed (PLA should stay under 60°C). I used a disk of an old harddisk that had the right dimensions and a glue that hardens with UV light. The disk wasn't aluminium, but glass, so it would have be difficult to drill holes.
To fix the whole thing I used the NeoPixel 12 ring mount for Large Luxo Jr. from Danielle Brake.
The two rings are connected in series with the data line. The series resistor used on the data line for NeoPixel is already contained in the rings. For more infos on NeoPixel look at the Adafruit Überguide.
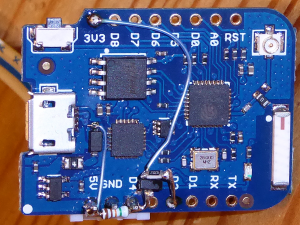
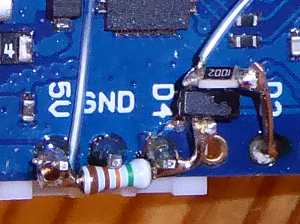
I used a level converter to get 5 V out of 3.3 V with an 2N7002 transistor. Later I found a better solution by using a 47HCT125. For more infos look at my tips and tricks section: http://www.weigu.lu/microcontroller/tips_tricks/level_shifter_tts/index.html.
