Microcontroller projects
Air Quality
last updated: 16/04/20
luftdaten.info
In Stuttgart/Germany there exists the OK Lab Stuttgart. There goal is to promote transparency development, open data and citizen science. There project luftdaten.info helps to measure fine dust with cheap but performant self-built sensors. Luftdaten.info generates a continuously updated particular matter map from the transmitted data. Fine dust becomes visible.
Most info's can be found on luftdaten.info.
Build a sensor
In our mini workshop in Luxembourg we will build sensors with a WeMos D1 mini board (ESP8266).
Here is the LINK to our PDF in Luxemburgish.
Bill of materials
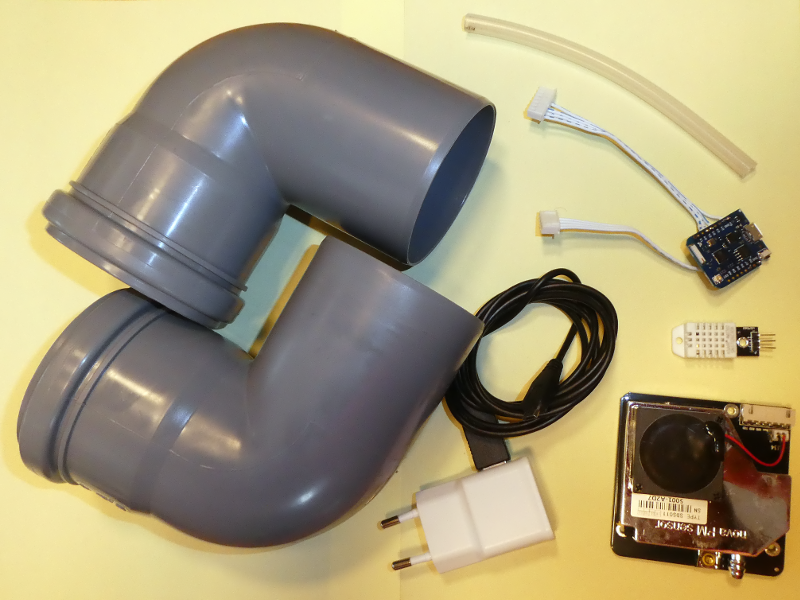
- WeMos D1 mini
- SDS011 fine dust sensor
- DHT22 sensor for temperature and humidity
- Power supply 5V with micro USB connector (2m length)
- flexible tube inner diameter 5 mm, length 15 cm
- 2 HTB elbow (DN 75 87°)
Soldering the cables
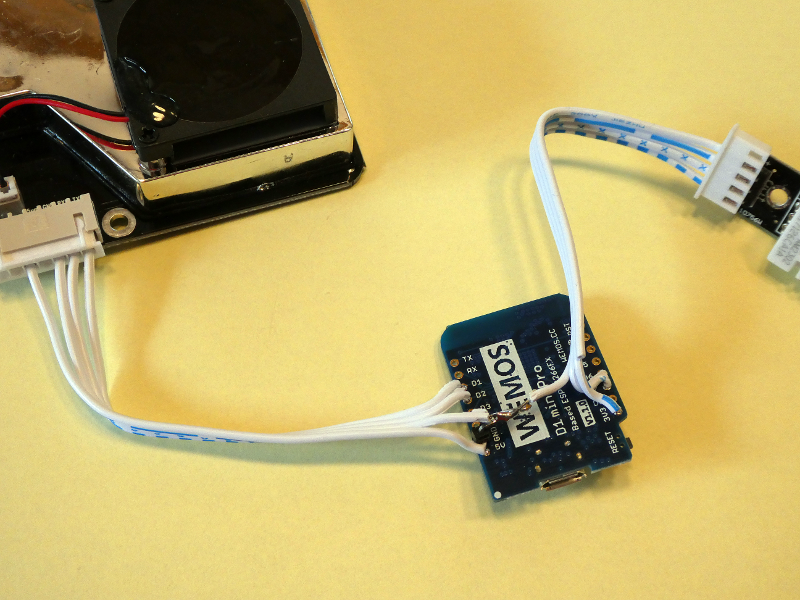
The cable that comes with the dust sensor is split in half and soldered to the Wemos board. In our workshop this is already done.
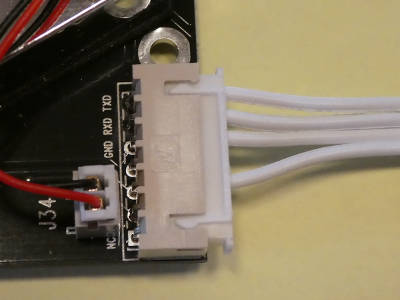
| SDS011 Pin1 | TX | ⇨ | Wemos D1 |
| SDS011 Pin2 | RX | ⇨ | Wemos D2 |
| SDS011 Pin3 | GND | ⇨ | Wemos GND |
| SDS011 Pin5 | 5V | ⇨ | Wemos 5V |
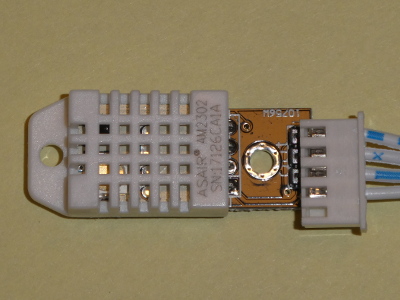
| DHT22 Pin1 | 3V | ⇨ | Wemos 3V3 |
| DHT22 Pin2 | DATA OUT | ⇨ | Wemos D7 |
| DHT22 (Pin4) | GND | ⇨ | Wemos GND |
The other pins are not connected. As we use a temperature sensor witch is soldered to a breakout PCB, we have only 3 pins. One cable is not connected!

Connecting the sensors and tube
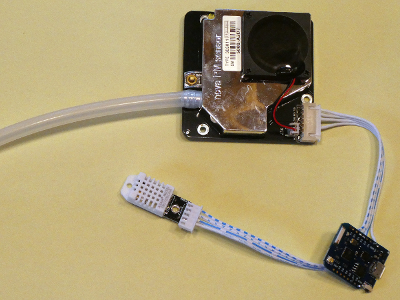
Now we will connect the tube, the dust sensor and the temperature sensor.
!!Pay attention to turn the DHT22 header the right way (GND to -)!!
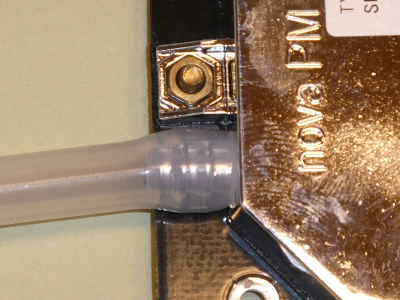
Next fit the tube to the dust sensor.
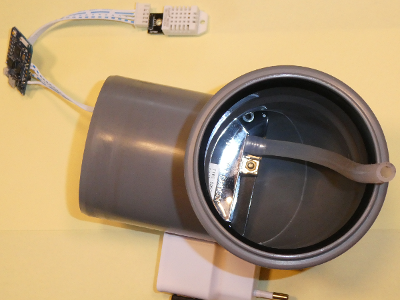
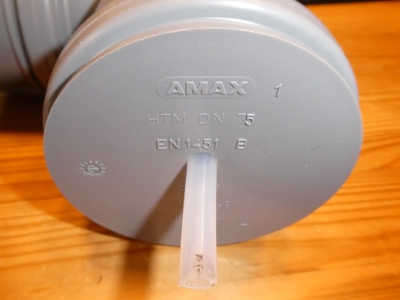
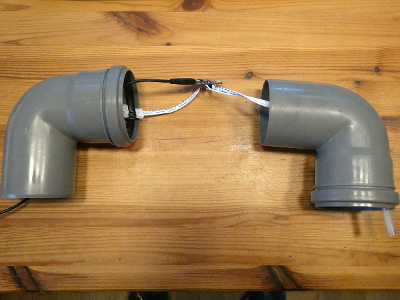
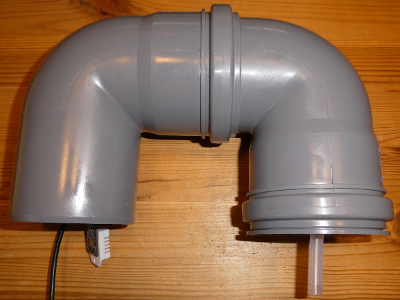
In our next step we stick the dust sensor in one of the two elbows and plug the lid (stick the tube through the 8 mm hole). The power supply cable goes through the second elbow and is connected to the Wemos board (Micro USB).
Close the open end of the second elbow with a net or similar, so that the air can circulate but insects stay outside.
Configuration of the sensor
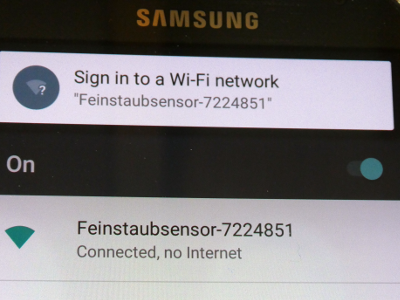
Connect the station with the power cable. The sensor opens an access point with a name (SSID) witch is has 2 parts. The name "Feinstaubsensor-" followed by the sensor ID (here 7224851).
!!Remember that number, as we need it later!!
Connect to this access point. Wait a moment until the connection is made. Sometimes it take multiple attempts.
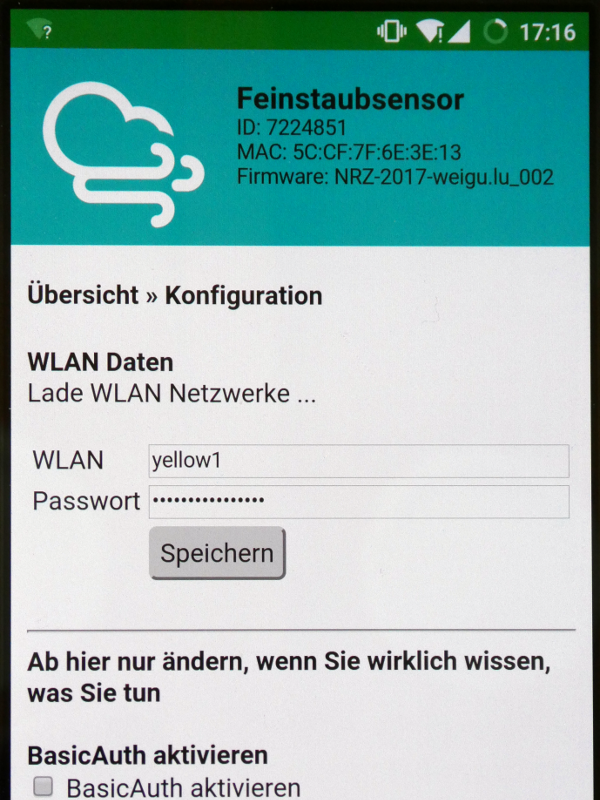
Open your browser and type in http://192.168.4.1/. You see the menu site and are able to type the SSID and the Password of your WiFi network.
After saving, the sensor will restart (and has no longer an AP). If everything is setup correctly, after about 10 minutes visit the following site:
http://www.madavi.de/sensor/graph.php.
Search for your ID (in the example above the 7224851) and view the dust sensor (SDS011) or the temperature sensor (DHT).
If you want to access your sensor homepage, search for his IP address by logging in to your router and type this IP in your browser.
To make the sensor part of the sensor network map, send an email rajko@codefor.de with these information:
- your ID of the ESP8266 (Wemos)
- your address: Street with house number, post code and city -> OK Lab approximates your coordinates for privacy reasons
- the environment of the station – e.x. height above ground, roadside, high traffic, open field or the like
- your email address. It will not be published.
- if possible, an image where the sensor hangs – will not be published.
More infos on luftdaten.info.
Programming
Download the newest arduino IDE (1.8.12) from www.arduino.cc and install it. As we use the ESP8266 we need to configure Arduino for this Board. This is quite easy: Start Arduino, open File > Preferences and enter the string http://arduino.esp8266.com/stable/package_esp8266com_index.json into Additional Board Manager URLs field.
Open Boards Manager from Tools > Boards > Board manager..., scroll down and install esp8266 platform (use 2.4.2 not 25 beta!). Select WEMOS (Wemos) D1 mini Pro from Tools > Board after installation and select the right port.
The sensor software is on github (opendata-stuttgart/sensors-software) and is named airrohr-firmware. Help to install the firmware:
https://github.com/opendata-stuttgart/meta/wiki/EN-Installing-firmware
Alternatively use the airrohr-firmware-flasher.
