3D printing
last updated: 14/12/19
Octoprint on Raspberry Pi for Felixprinters
Introduction
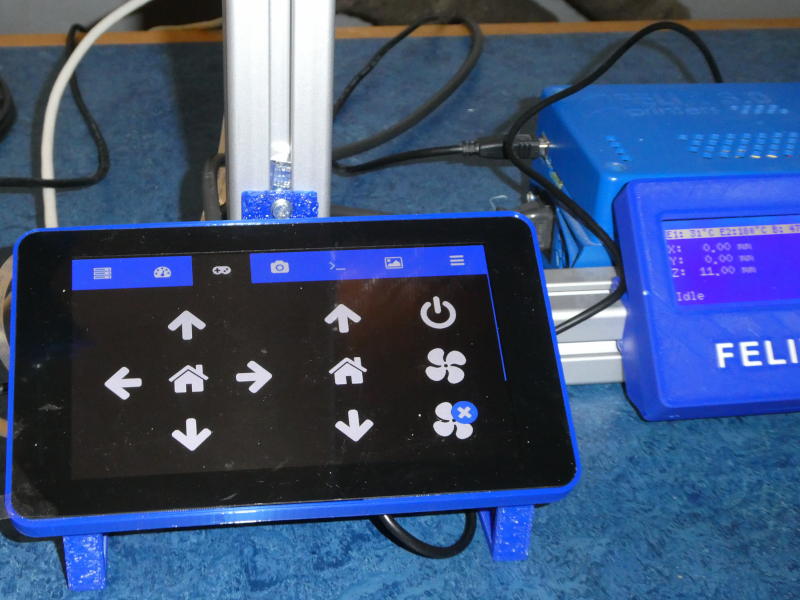
We have 9 felixprinters at our school (9 x TEC 4.1). Often we forget to cut them from the power over weekend. We wanted a solution with a better manual interface, a camera to watch the print remotely and the possibility to switch them off remotely. Fortunately there is octoprint and octopi.

Hardware
We use Raspberry Pi 3B+'s with the raspi camera and the official Raspberry Pi touch display. A 5 V cooling fan 50 mmx50 mmx10 mm (e.g from MANOUII (amazon)) and a relay breakout board (e.g. relay shield from wemos.cc).
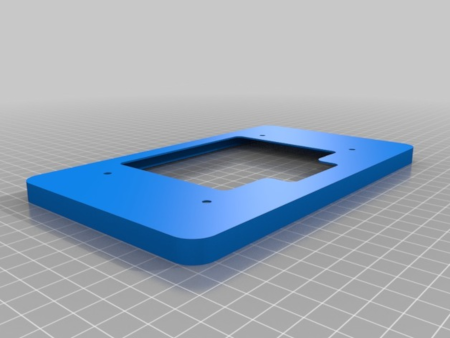
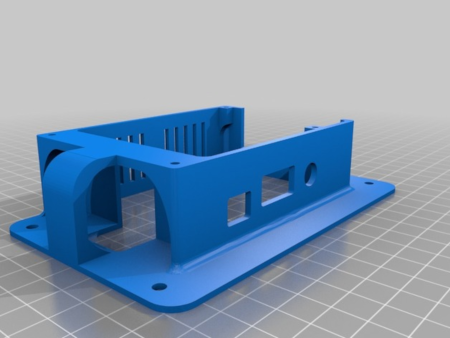
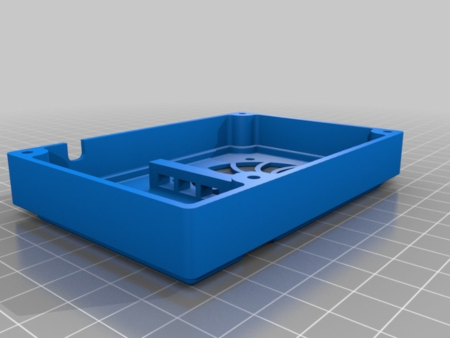
To reduce the design work I combined some designs from thingiverse.


- Download Octopi 0.17 at https://octoprint.org/download/
- Unzip the image and install the contained .img file to an SD card. Use the command
dmesgto get device name.
      cd Downloads
      sudo dd of=/dev/sdk if=2019-09-26-octopi-buster-lite-0.17.0.img bs=1M
- Configure your WiFi connection by editing octopi-wpa-supplicant.txt on the root of the sd-card
- Boot the Pi from the card.
- Log into your Pi via SSH (it is located at octopi.local if your computer supports bonjour or the IP address assigned by your router), default username is “pi”, default password is “raspberry”. Change the password using the passwd command.
- Access OctoPrint through http://octopi.local or http://
. https is available too, with a self-signed certificate. - Configure octoprint (username, password etc.). The dimensions for Felix TEC 4 are: X 255 mm, Y 205 mm, Z 225 mm, Nozzle 0.35 mm.
- Update if updates are available.
- Install the plugin
TouchUI(Settings (screw wrench) -> Plugin Manager -> Get more). - Install the required drivers for your touchscreen. For this we get the TouchUI boot files and install scripts by launching this commands on the raspi:
      git clone https://github.com/BillyBlaze/OctoPrint-TouchUI-autostart.git ~/TouchUI-autostart/
      sudo ~/TouchUI-autostart/helpers/install
- Next we install the plugin
PSU Control. After a reboot we need to go to Settings -> Plugins -> PSU Control and set the GPIO pin 21 (BCM).
